
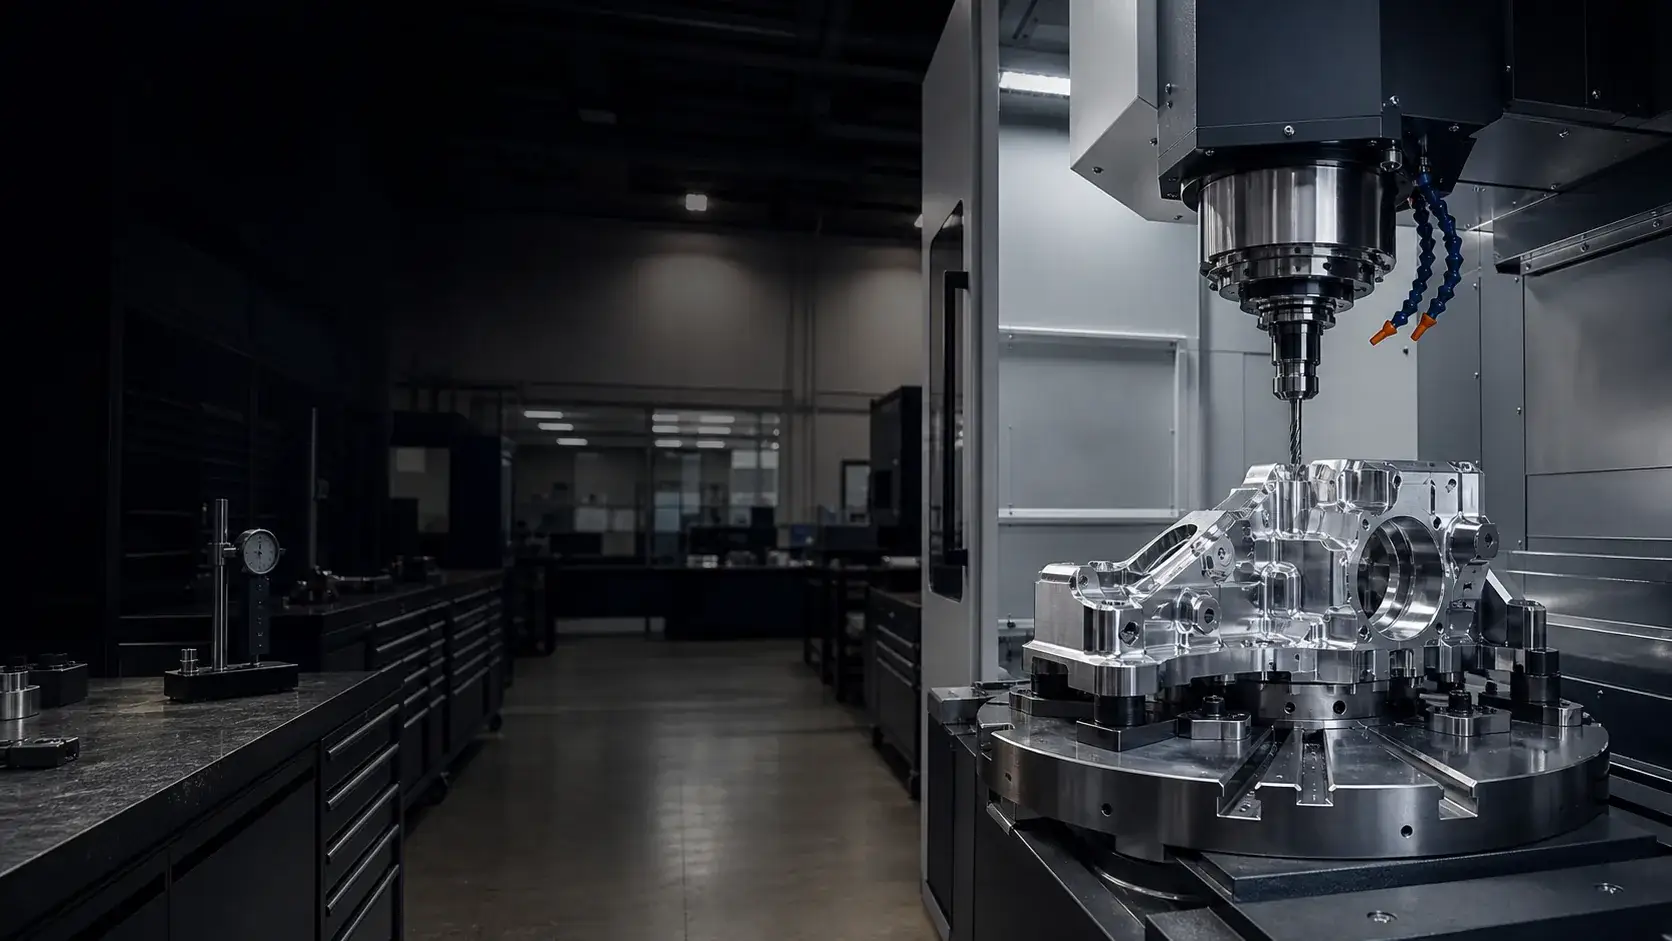
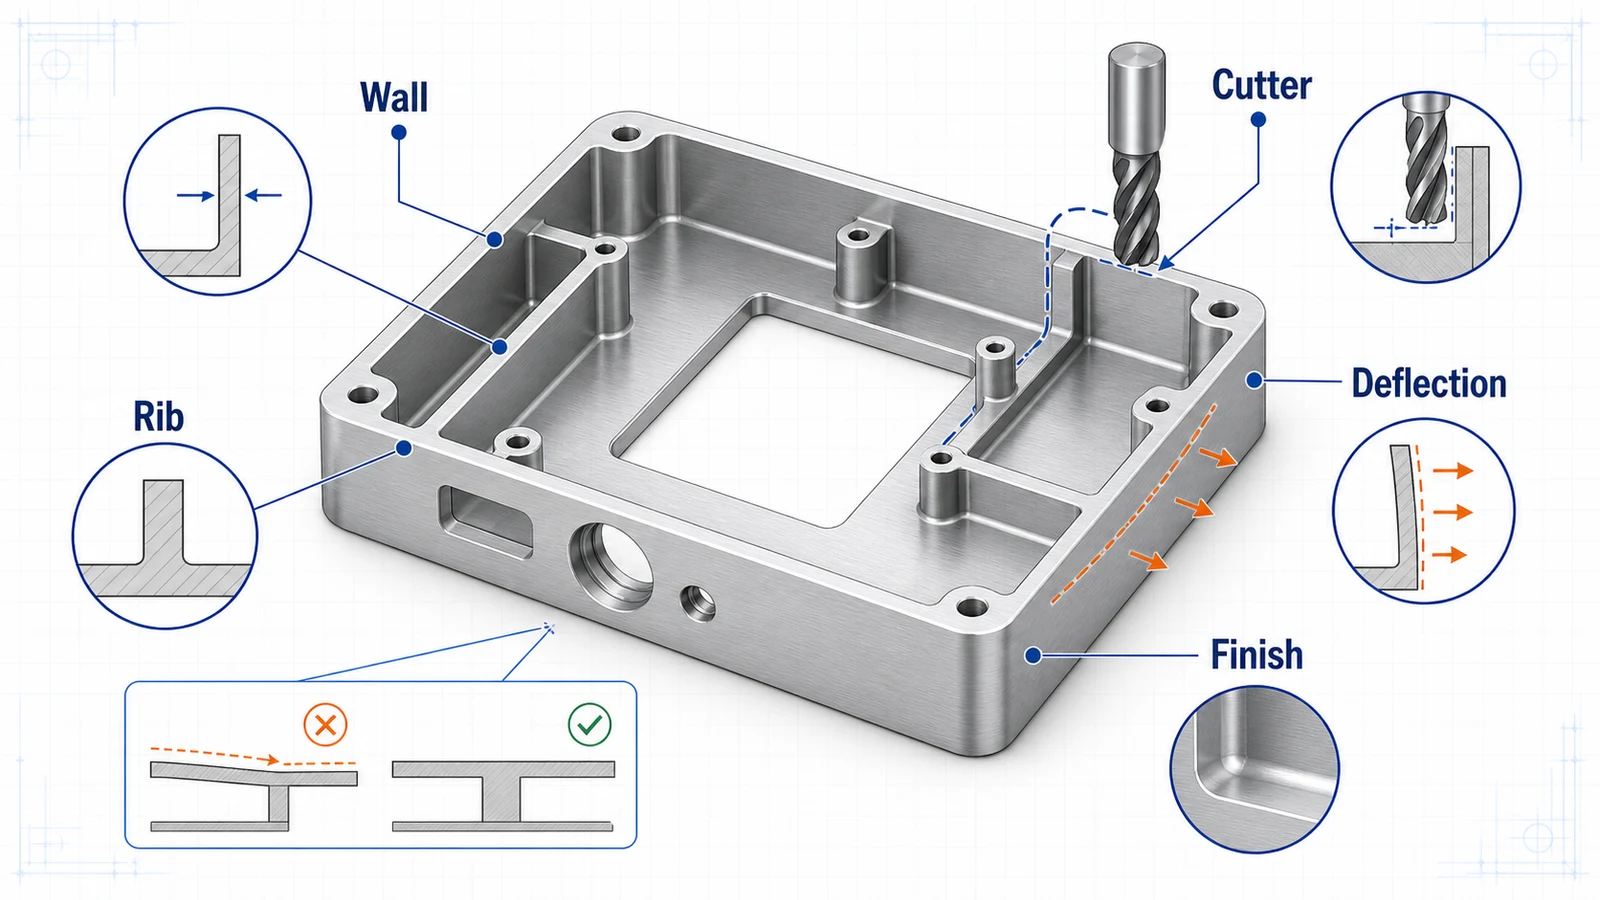
Thin wall aluminum CNC machining is common in enclosures, covers, lightweight brackets, instrument bodies, optics housings, and robotics components. Aluminum cuts easily, but thin walls create a different problem: the part can vibrate, deflect under tool pressure, move after unclamping, or distort during finishing.
The design goal is not simply to make every wall as thin as possible. It is to keep the part light while leaving enough stiffness for machining, assembly, sealing, and inspection.
What counts as a thin wall?
There is no single number because wall height, length, alloy, and surrounding geometry all matter. A 1 mm wall that is 5 mm tall may be manageable. A 1 mm wall that is 60 mm tall across a long enclosure side is a much higher risk.
For many 6061 aluminum production parts, 1.5 mm or more is a practical starting point. Thinner walls can be machined, but they need a review of tool access, support, tolerance, and quantity. Prototype parts may allow more risk than repeat production parts.
Design rules for thin wall aluminum
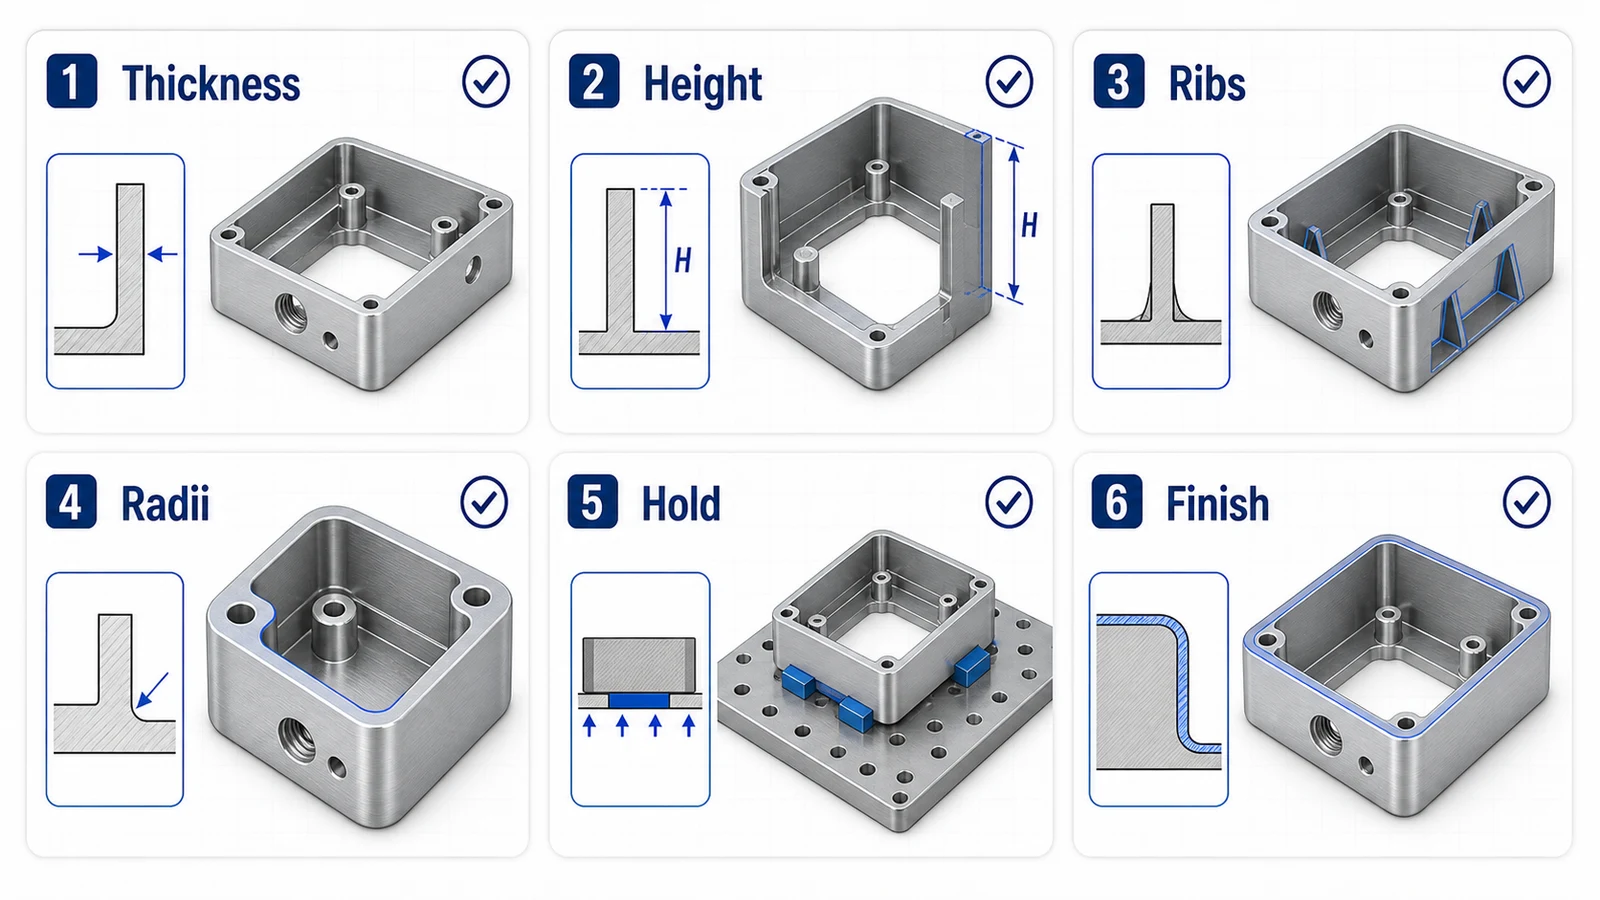
| Design area | Practical recommendation |
|---|---|
| Wall thickness | Use 1.5 mm or more where possible for production |
| Wall height | Keep unsupported tall walls short or add ribs |
| Corner radii | Add generous internal radii to reduce cutter load |
| Pocket depth | Avoid deep narrow pockets that require long tools |
| Tolerances | Tighten only critical wall relationships |
| Finishing | Account for anodize thickness and handling risk |
These rules help the supplier quote a stable process instead of relying on slow trial-and-error machining.
Add ribs instead of simply thickening everything
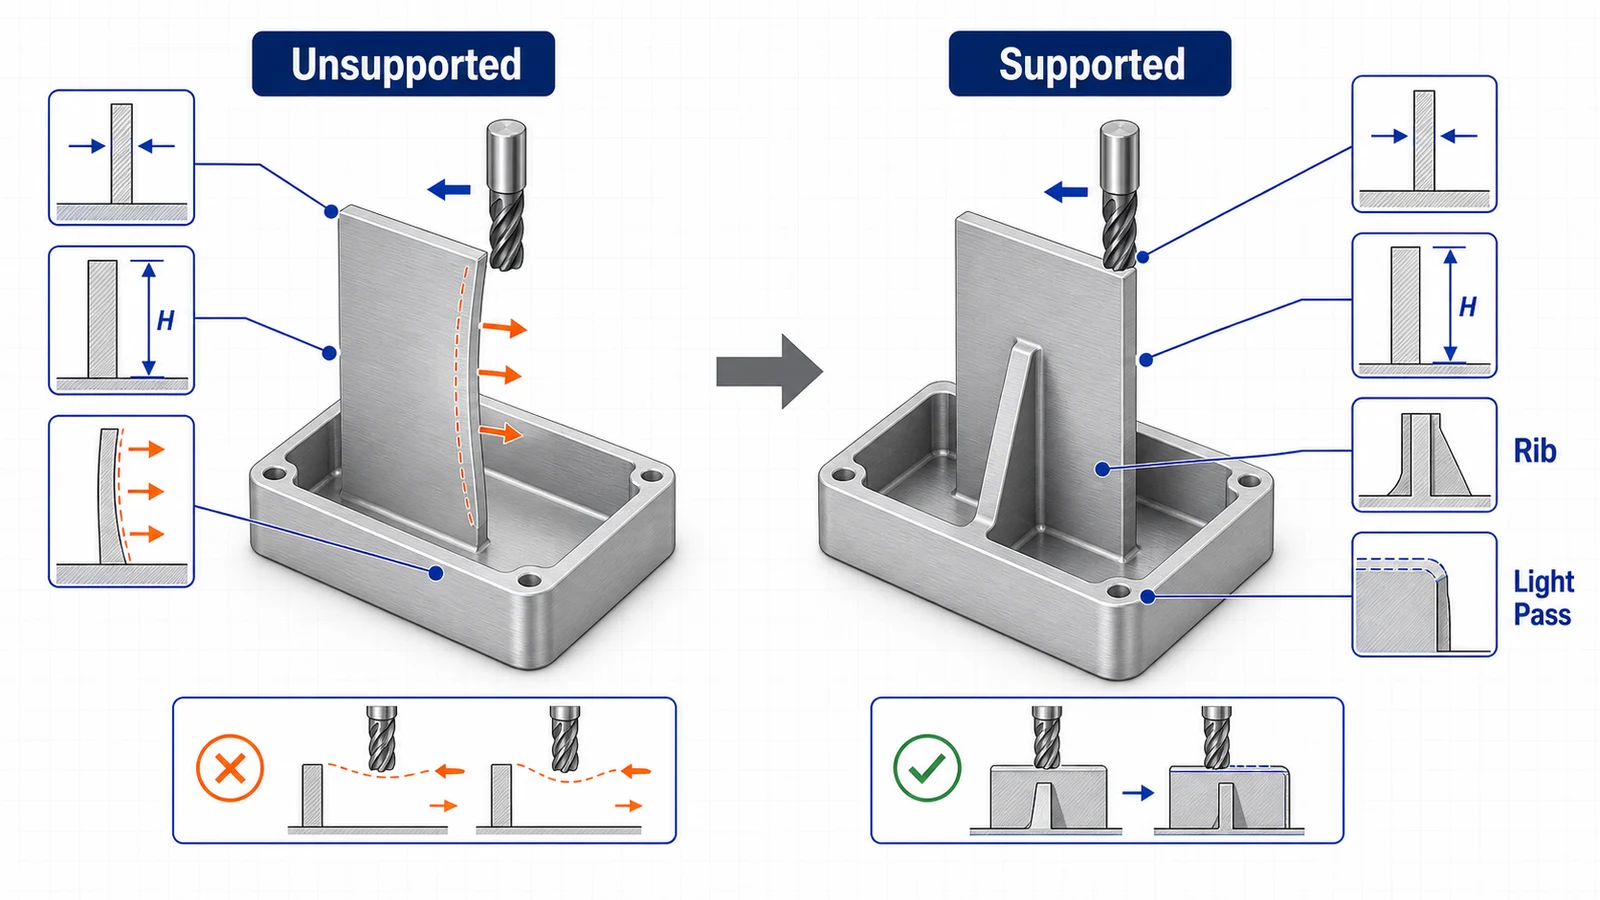
Ribs are often better than globally increasing wall thickness. A rib can support a long wall, protect a sealing flange, or reduce vibration without adding too much weight. Ribs also help distribute stiffness where the part needs it.
Keep rib roots radiused. Sharp rib transitions create stress concentration and are difficult to machine cleanly. Use ribs that can be reached with practical cutters from accessible directions. If a rib creates a deep slot on both sides, it may add more machining cost than it saves in weight.
Avoid tall isolated walls
Tall isolated walls are difficult because the cutter pushes them during finishing. The wall may deflect away from the cutter and spring back later, leaving taper or dimensional variation. The taller and thinner the wall, the more likely this becomes.
If a wall must be tall, consider adding temporary support stock that is removed late in the process. Another option is to split a complex housing into a body and cover, then fasten or seal them. This can reduce machining risk and improve inspection.
Workholding and machining sequence
Thin wall parts often need a roughing and finishing strategy that leaves support material until late. The supplier may rough the inside, leave extra stock, rough the outside, then finish critical surfaces with light passes. For enclosure bodies, soft jaws or custom fixtures may support the walls during later operations.
Workholding marks should be discussed if the part is cosmetic. A thin wall enclosure that also needs bead blast and black anodize should identify visible faces, hidden clamp areas, and acceptable rack marks.
Tolerance strategy
Do not apply tight tolerances to every thin wall surface. Thin walls may move slightly, and inspecting every surface tightly can add cost without improving function. Instead, define the critical relationships:
- Connector face location.
- Lid sealing surface flatness.
- Mounting hole position.
- Boss height.
- Internal clearance where components fit.
For a housing, the outside cosmetic profile may be less important than the connector plane and gasket groove.
Anodizing thin wall parts
Anodize adds thickness and handling steps. Thin edges and sharp corners are more vulnerable to cosmetic defects, rack marks, and damage during transport. Add small edge breaks where possible. If threads, bores, or sliding features must maintain fit, specify masking or dimensions after finish.
For visible enclosures, see the anodized aluminum CNC parts checklist before release.
RFQ notes for thin wall parts
Send the STEP model and PDF drawing with wall thickness, critical dimensions, alloy, finish, quantity, and application notes. If a wall is thin for weight, explain whether extra ribs or local thickness changes are acceptable. If a surface is cosmetic, identify it.
Thin wall aluminum parts are very manufacturable when the design gives the machinist support, access, and a clear tolerance hierarchy.