
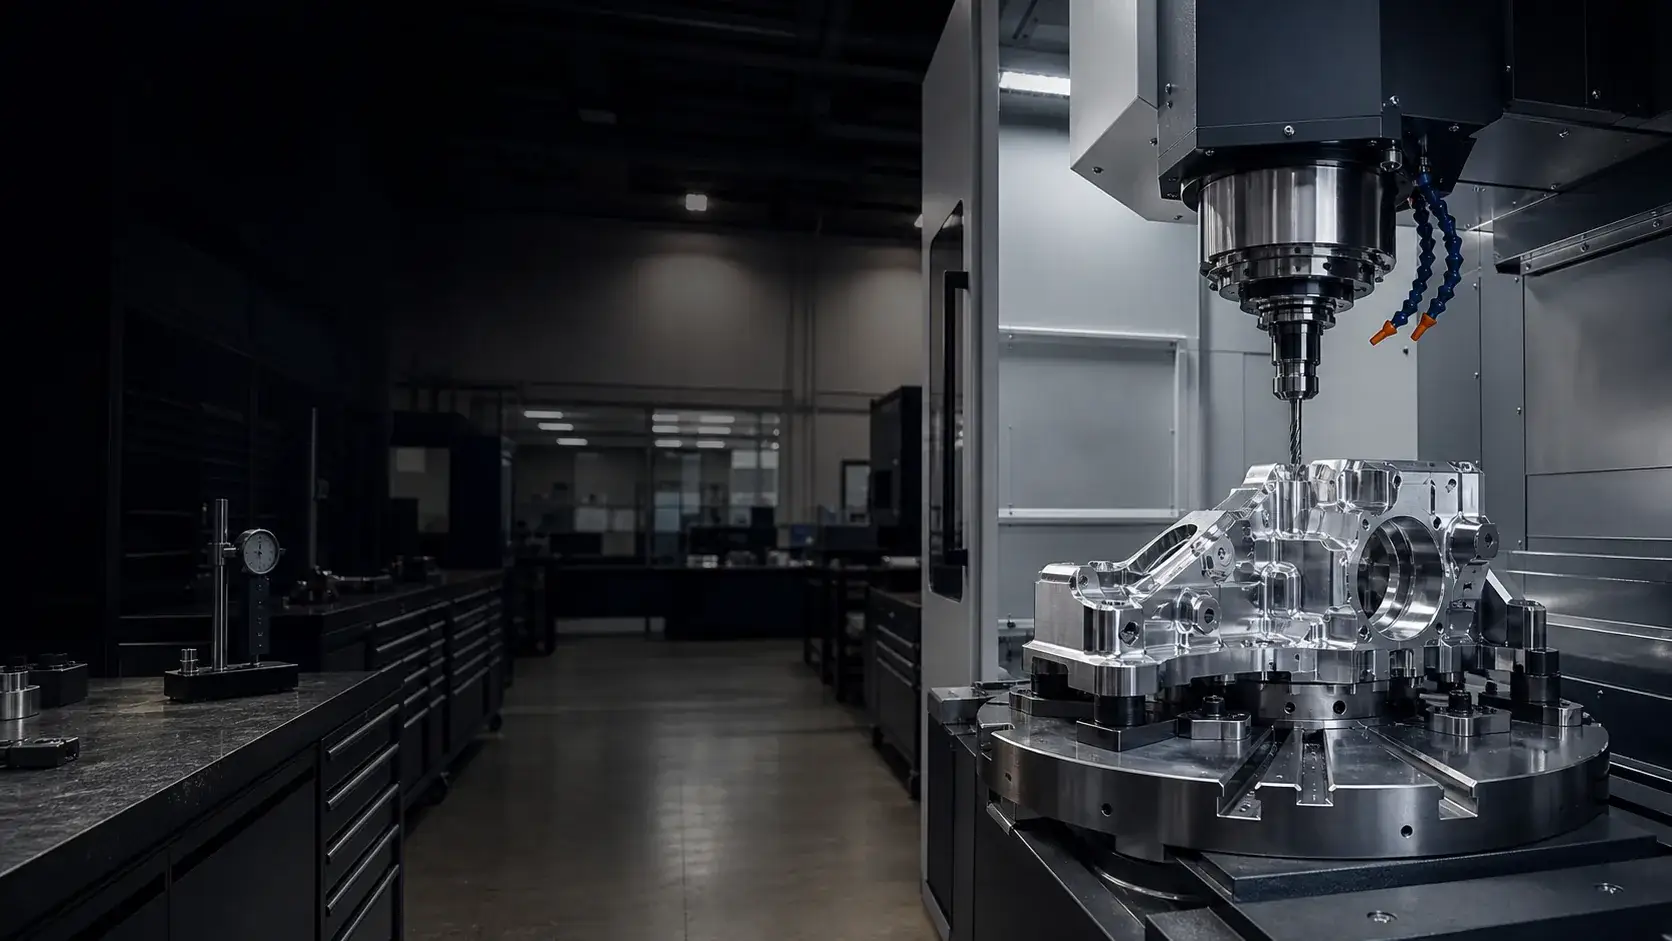
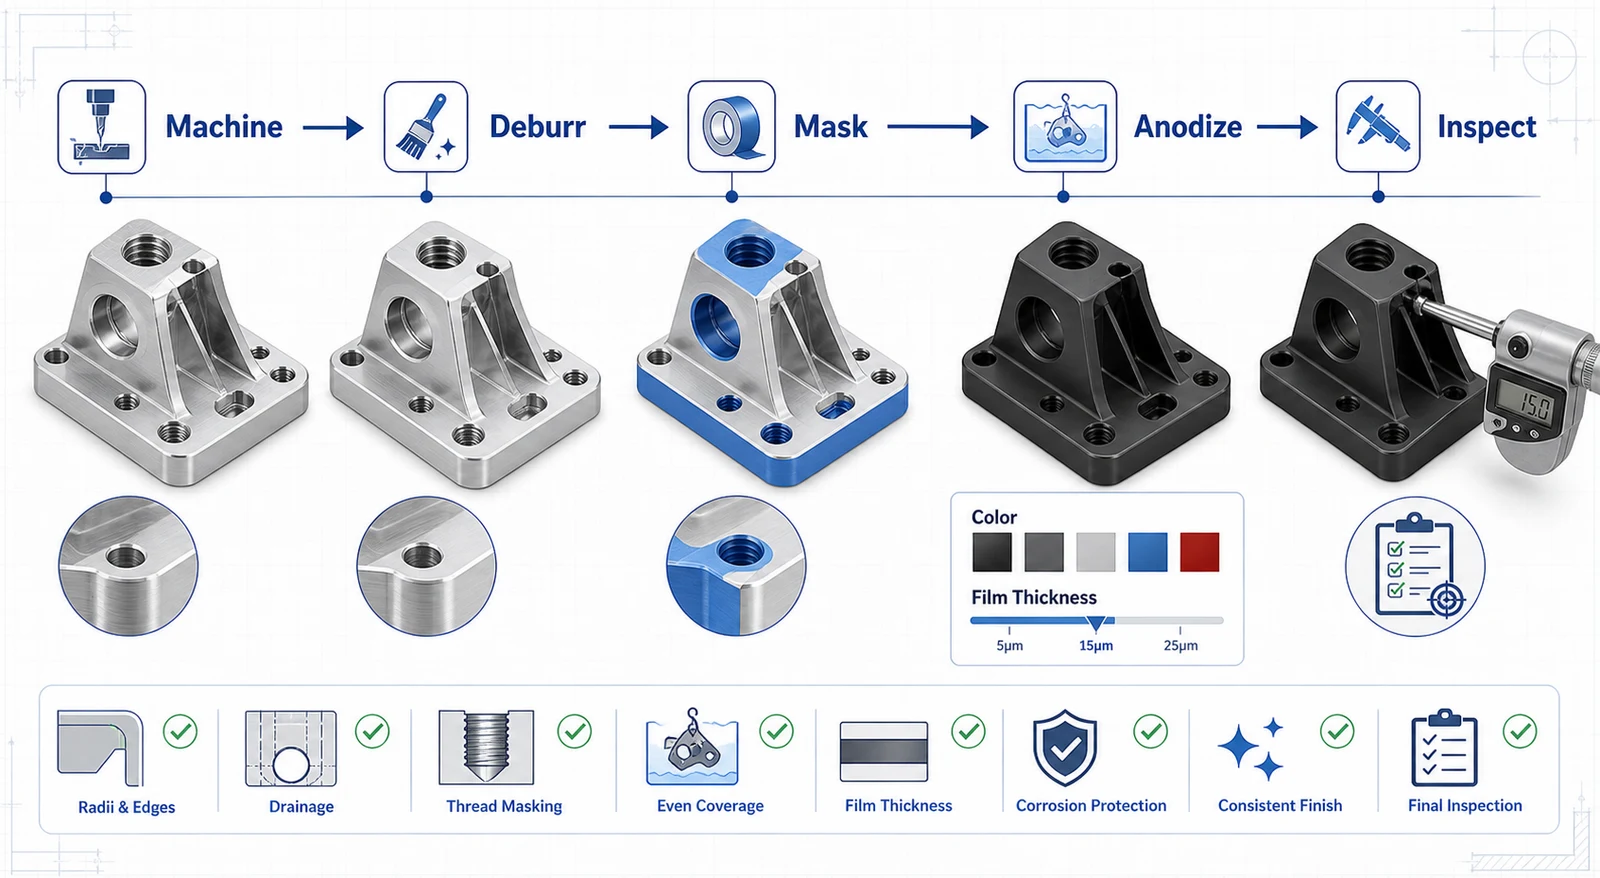
Anodizing is one of the most common finishes for CNC machined aluminum parts. It improves corrosion resistance, wear behavior, cleanability, and appearance. It can also create dimensional problems if coating thickness, masking, threads, and cosmetic expectations are not defined before machining.
A good anodized aluminum part is not only a machined part with a finish added at the end. The machining plan, deburring method, surface roughness, masking, rack contact points, and inspection criteria should all support the anodize requirement.
Anodized aluminum design checklist
| Checklist item | Why it matters |
|---|---|
| Alloy and temper | 6061 anodizes more uniformly than many high-strength alloys |
| Anodize type | Type II and Type III have different thickness and performance |
| Color | Clear, black, and dyed colors behave differently by alloy and texture |
| Thickness | Film growth affects bores, slots, threads, and fits |
| Surface preparation | Bead blasting or machining marks show through the finish |
| Masking | Conductive lands, threads, and precision bores may need protection |
| Cosmetic faces | Visible surfaces need agreed inspection criteria |
| Packaging | Anodized surfaces can still scratch during handling and shipping |
Use this checklist before release, not after the first batch arrives.
Choose the right aluminum alloy
6061 is usually the safest alloy for clear and black anodize. It produces consistent appearance, especially when parts are finished in the same lot. 7075 can be anodized successfully, but clear anodize may appear darker or less uniform. MIC-6 can be anodized for tooling purposes but is not chosen for bright cosmetic results.
If an assembly contains visible parts made from different alloys, do not assume the anodize color will match. For customer-facing products, keep visible parts in the same alloy family or approve samples.
Review the 6061 aluminum CNC machining guide and 7075 aluminum CNC machining guide when alloy choice and finish appearance are linked.
Specify Type II or Type III clearly
Type II anodize is commonly used for corrosion protection, color, and general handling resistance. Clear and black anodize are typical Type II finishes. Type III hardcoat anodize is thicker and harder, used for wear surfaces, sliding contact, and high-duty machine components.
Do not write only “anodize” on the drawing. A useful note includes type, color, thickness range, sealing requirement if applicable, and standard if required. For example: “Type II clear anodize, 10-15 microns, dimensions after finish” is much clearer than “clear anodize.”
Design for coating thickness
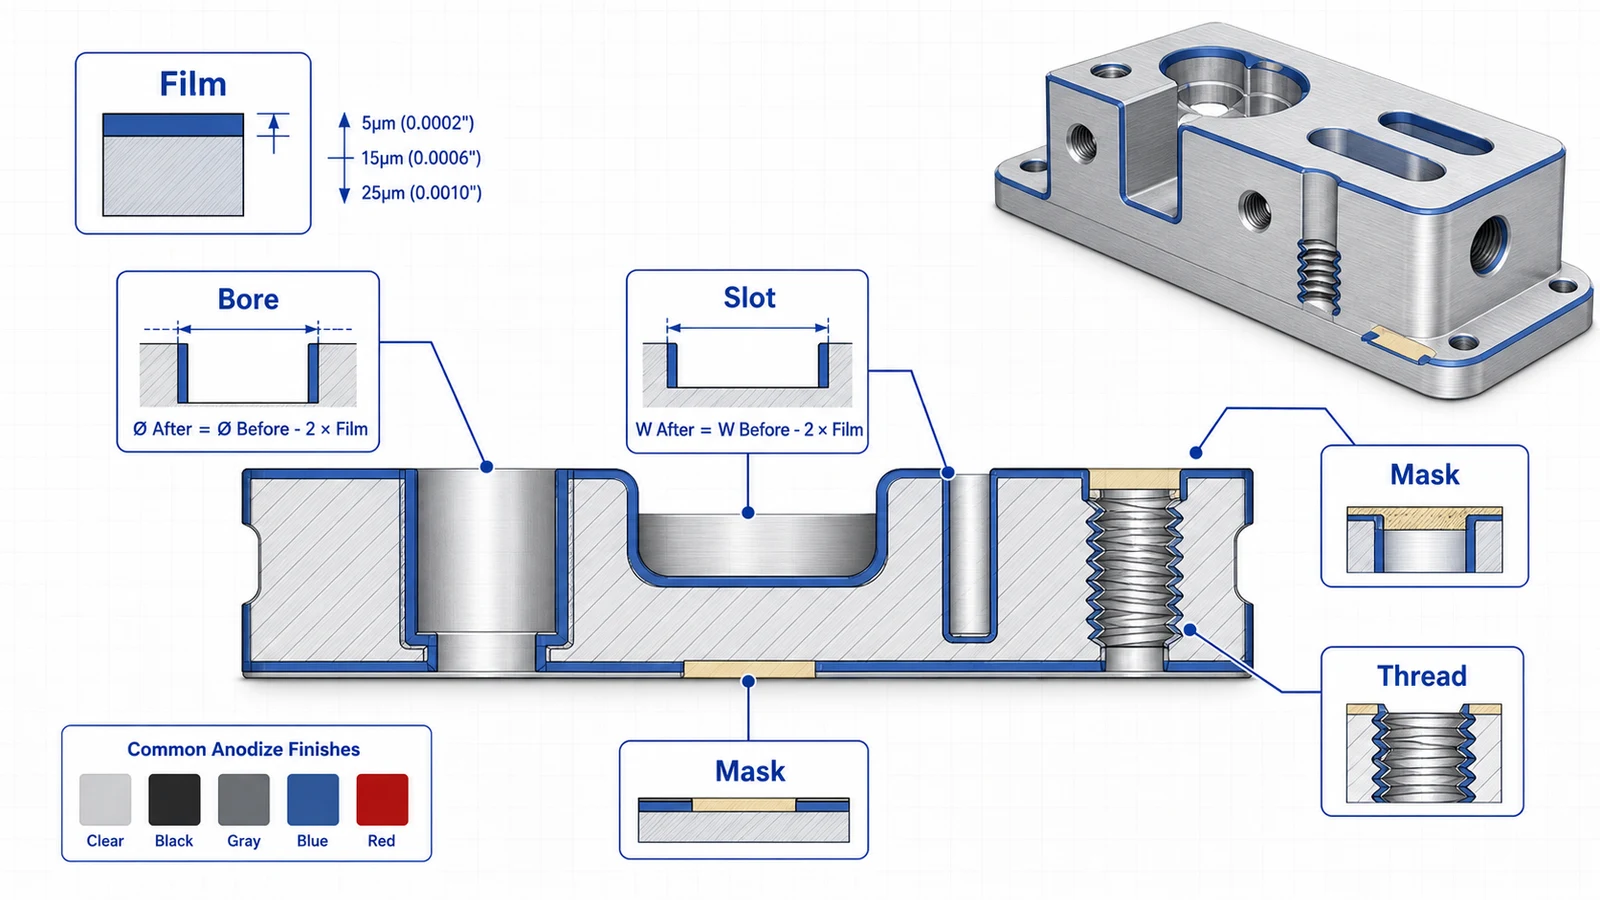
Anodize grows on the aluminum surface and also penetrates the surface. For functional fits, the important point is that dimensions change. Bores get smaller, outside dimensions get larger, slots narrow, and threads can tighten.
Decide whether dimensions apply before or after finish. Most fit-critical drawings should state dimensions after finish unless specific features are masked. If a bearing bore, dowel hole, seal groove, or connector pocket must hold size, call it out directly.
Hardcoat needs even more attention because the film is thicker than standard Type II anodize. See the hardcoat anodizing guide before applying it to close fits.
Masking and electrical contact
Anodize is electrically insulating. That is useful for some parts and a problem for others. EMI gasket lands, grounding pads, threaded electrical contacts, and bonding surfaces may need to remain conductive. These areas should be masked or finished differently.
Masking adds cost and should be specified only where needed. Use a drawing view or detail to show exact masked areas. Do not rely on a note such as “mask as required” unless you have already discussed the requirement with the supplier.
Cosmetic surface expectations
Anodize does not hide machining marks. It often makes them more visible. If a visible face needs a uniform satin appearance, specify bead blast before anodize and define which faces are cosmetic. If a surface is hidden after assembly, allow normal machining and handling marks.
Rack marks are another practical issue. Parts must be electrically connected during anodizing, so contact points are needed. Work with the supplier to place rack marks on hidden or non-critical surfaces when cosmetics matter.
Quality inspection after anodize
Inspection should include both dimensions and finish quality. For functional features, check post-anodize dimensions if that is what the drawing requires. For finish, verify color range, coverage, masking, scratches, stains, rack marks, and packaging protection.
If parts are production customer-facing components, define an acceptable cosmetic standard early. Without it, one person’s “minor handling mark” may be another person’s rejection.
RFQ notes
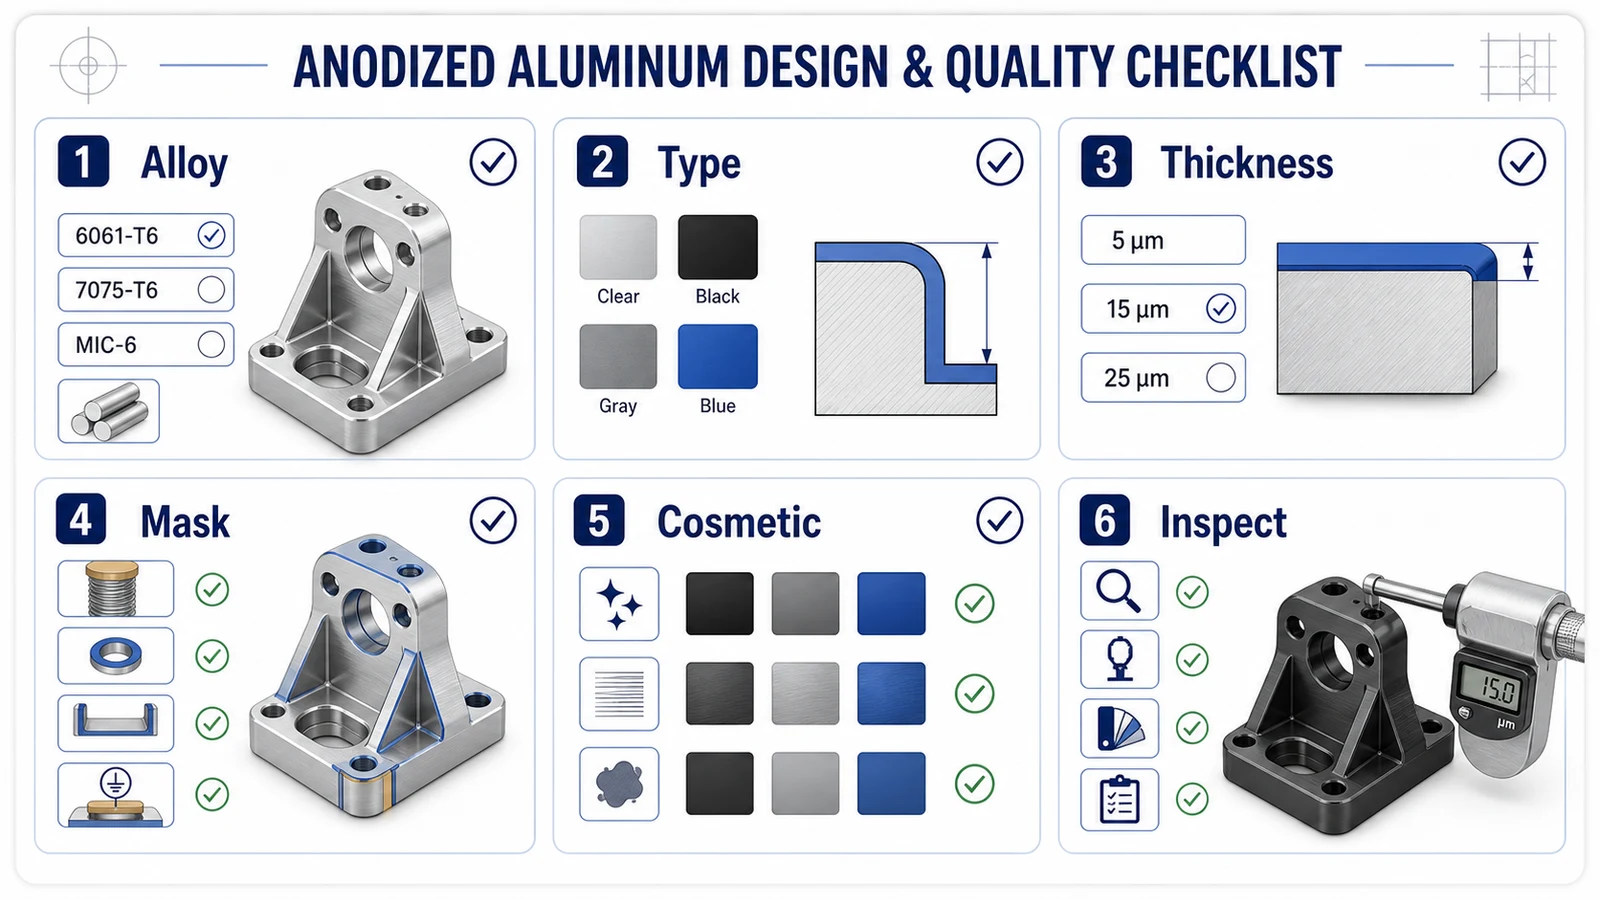
Send the CAD model, PDF drawing, alloy, finish note, color requirement, coating thickness, masked areas, cosmetic faces, inspection requirements, and quantity. If the part will be reordered, ask the supplier to control alloy source and finishing lot as much as practical.
Anodized aluminum parts are reliable when machining and finishing are planned together. Treat anodize as an engineering requirement, not a color applied after manufacturing.